I just want to post some "before" and "middle" pictures. We aren't to the "after" yet, but hey. We've got pictures of the skeleton! Considering it has been just a little over
three months since we bought the house I think we're doing pretty good. *Pat self on back* yay!
Heads up: This is a super long post, mostly filled with pictures. Enjoy!
The Living Room:
[caption id="attachment_439" align="aligncenter" width="300" caption="Before"]

[/caption]
[caption id="attachment_458" align="aligncenter" width="200" caption="now"]

[/caption]
The Other Living Room:
[caption id="attachment_441" align="aligncenter" width="300" caption="Before"]

[/caption]
[caption id="attachment_459" align="aligncenter" width="200" caption="now"]

[/caption]
The Bathroom:
[caption id="attachment_442" align="aligncenter" width="225" caption="before"]

[/caption]
[caption id="attachment_478" align="aligncenter" width="300" caption="now"]

[/caption]
We also extended the bathroom by about a foot so the tub won't be crammed into the wall like it is in the "before" picture.
The Dining Room:
[caption id="attachment_440" align="aligncenter" width="300" caption="Before"]

[/caption]
[caption id="attachment_479" align="aligncenter" width="300" caption="now"]

[/caption]
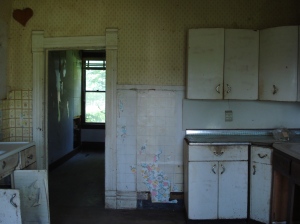
We knocked out the wall
dividing the kitchen and dining room to make it one big room. (see second picture below!)
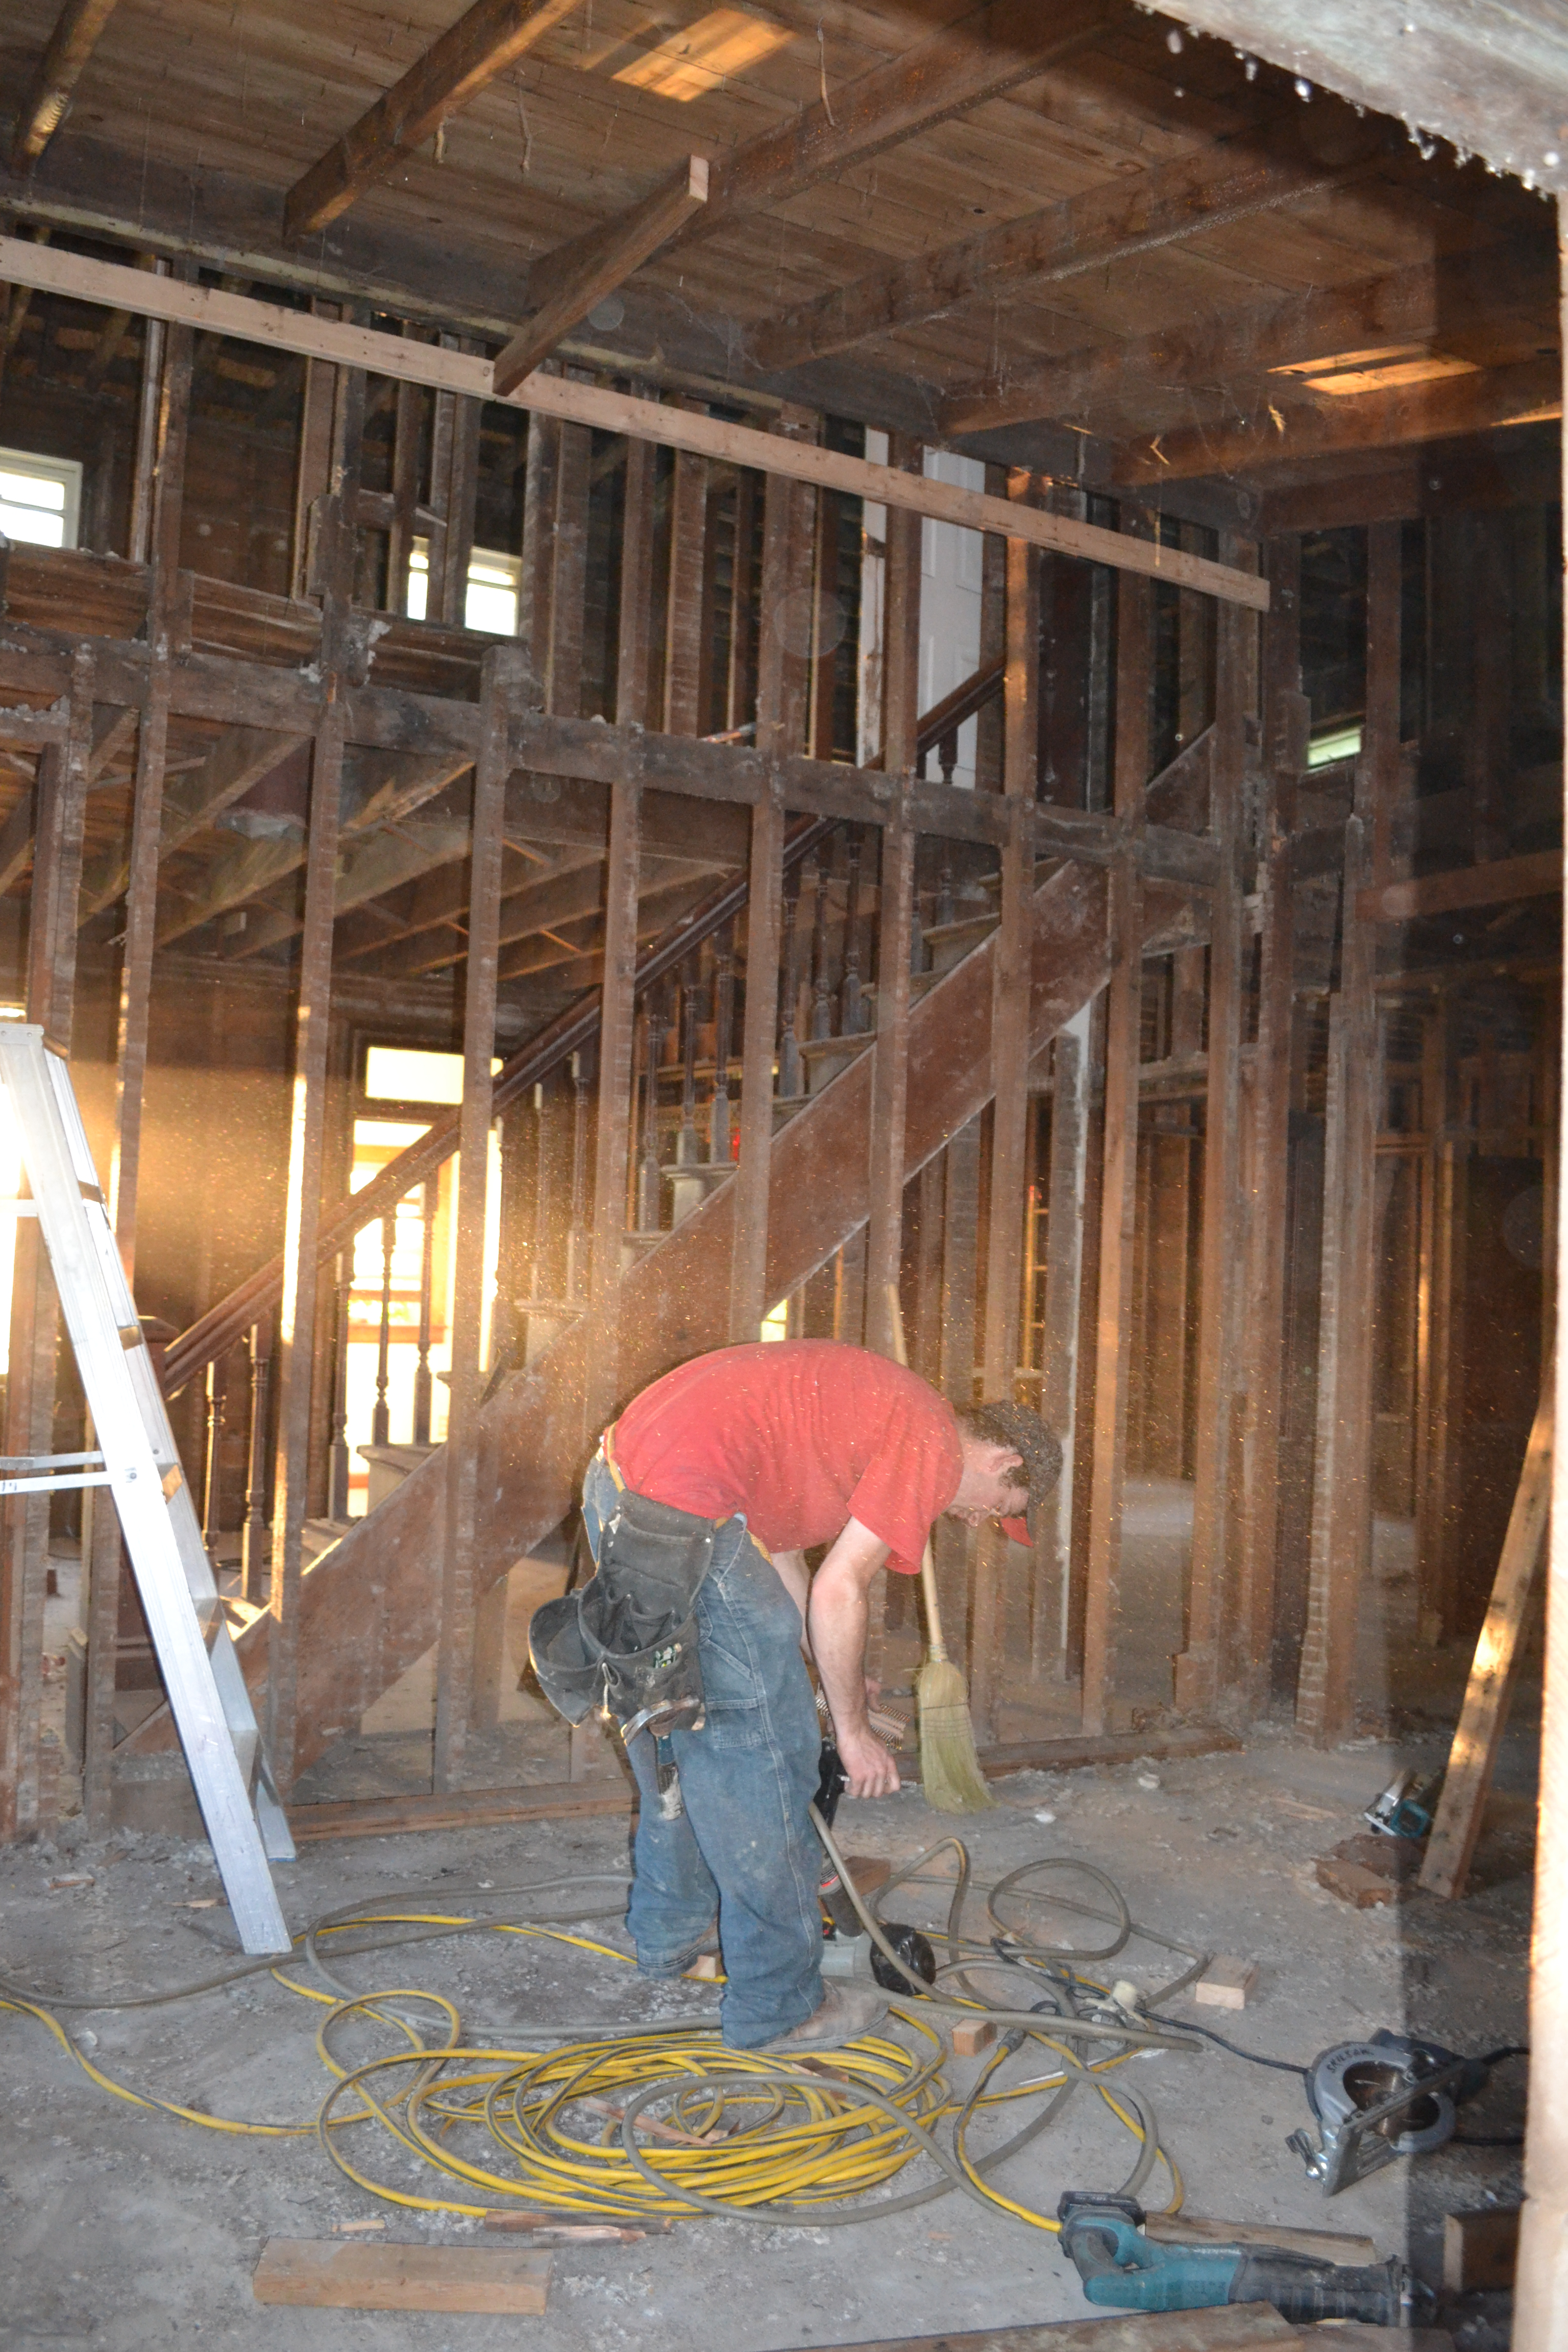
The Kitchen:
[caption id="attachment_444" align="aligncenter" width="300" caption="before"]

[/caption]
[caption id="attachment_480" align="aligncenter" width="200" caption="now"]

[/caption]
We extended the ceiling and it feels so open!
[caption id="attachment_445" align="aligncenter" width="300" caption="before (wall dividing kitchen and dining room)"]
[/caption]
[caption id="attachment_479" align="aligncenter" width="300" caption="now-same pic as above, I know, but just so we all have a visual."]
[/caption]
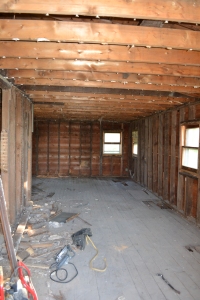
Mudroom:
[caption id="attachment_455" align="aligncenter" width="300" caption="before"]

[/caption]
[caption id="attachment_481" align="aligncenter" width="200" caption="now"]
[/caption]
We will be putting the wall back to recreate the 4th bedroom, but the door will go through the kitchen/dining area instead of through the mudroom. We had to take out the "before" wall to rip up all the rotting particle board. (ew.) Now we just have to sheet over this floor so we can eventually tile.
Bedroom 1:
[caption id="attachment_447" align="aligncenter" width="300" caption="before"]

[/caption]
[caption id="attachment_483" align="aligncenter" width="300" caption="now"]

[/caption]
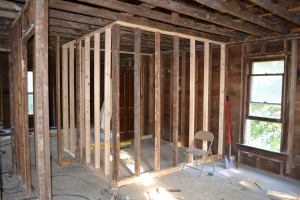
Yes, My Honeypie is trying to blend in with the wall. We ripped out the closet and we will build
built-in bunk beds where the closet used to be. Don't worry people, we are putting in a closet again, just somewhere else. Stand by.
[caption id="attachment_449" align="aligncenter" width="300" caption="before"]

[/caption]
[caption id="attachment_484" align="aligncenter" width="300" caption="now"]
[/caption]
Let me explain what this is. That thing in the middle of the room is the second bathroom we are adding in. To the left is where we will replace the closet we took out. I don't have a picture of the whole room (durh), but it is still a very decent sized room. yay!
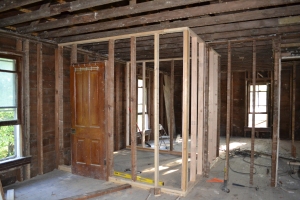
Bedroom 2:
[caption id="attachment_452" align="aligncenter" width="225" caption="before"]

[/caption]
[caption id="attachment_451" align="aligncenter" width="300" caption="before"]

[/caption]
[caption id="attachment_485" align="aligncenter" width="300" caption="in between the "before" and the "now""]

[/caption]
[caption id="attachment_486" align="aligncenter" width="300" caption="now"]
[/caption]
Our bathroom! I am so very excited for this. Very.
Bedroom 3:
[caption id="attachment_454" align="aligncenter" width="300" caption="before"]
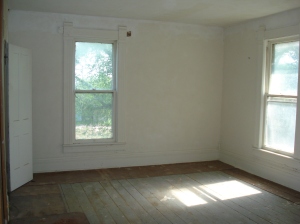
[/caption]
[caption id="attachment_487" align="aligncenter" width="300" caption="now"]

[/caption]
We are moving right along!


 After the graduation ceremony[/caption]


 See that awful cement pad? We have no idea why it's there. It goes all the way down through the floor to the ground outside. Now it blends![/caption]


 It's currently the only Christmas "decoration" we have up right now...we haven't had time to put up a Christmas tree yet! Stay tuned for more kitchen awesome-ness happening soon!


 [/caption]
 [/caption]
 [/caption]
 [/caption]
 [/caption]
 [/caption]
 [/caption]
 [/caption]
 [/caption]
 [/caption]
 [/caption]
 [/caption]
 [/caption]
 [/caption]
 [/caption]
 [/caption]
 [/caption]
 [/caption]
 [/caption]
 [/caption]
 [/caption]
 [/caption]
 [/caption]
