Pages

Showing posts with label victorian home. Show all posts

Monday, December 31, 2012

Some House Happenings

I haven't mentioned our house lately. Nathanael just finished putting a door in the doorway between the mudroom and the kitchen. Remember this door from waaaay back that I just had to have? It was a a local scrap yard. 


Well, here it is! In our house. Sorry for all the super low quality pictures. 


I plan on putting either a chalkboard or a decorative piece of metal grate on top of some wood. It won't happen today, but it WILL happen. I also plan to clean it. :) 

We also switched stoves with Nathanael's sister, Ruth. HUGE blessing and thanks! That tiny wood stove wasn't cutting it, but now we stay super warm. Nathanael discovered that it is really a coal burning stove, so we want to buy some coal just to test it out.


I started painting our dining room table (finally) and it will hopefully be finished on Saturday. Be on the look out!


Oh, and have a happy, safe, responsible New Year's Eve! ;)

Tuesday, May 1, 2012

woop!

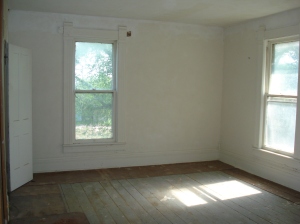
We got to sleep in our bedroom last night!! Yay! If you don't remember what it looked like before:


Before: 


Now


We also added a small bathroom. It's not finished, but here is a preview:


(that is still sitting out in the yard waiting to be painted...oops)


So excited! Moving on...


So happy! Not completely finished, but hey. It's closer every day! Woop!

Tuesday, November 22, 2011

And Then I Touched It.

Sometimes I wish our house was finished, just so we could live in it you know? But it's not! However, we did get all of the windows in, storm windows taken off, and the new windows caulked--which I even learned to do. I also assisted in taking off some of the storm windows...and successfully broke one of the huge ones. Glass. Everywhere. Yay, me!

Here is what our house looks like without all the nasty storm windows:


Our house on a prettier day!

Yay! Every time we drive by it I say hello and smile because it just looks so much better!

Sunday came around last week and My Honeypie was all like, "What do you want to do?" and normally we take turns picking/arguing about whose turn it is to pick. Except for this day I said, "Let's go take a walk at our house!" So we did. and found this:

Rwaaaar! It's a cow skull.

Monday, September 26, 2011

Skeletor.

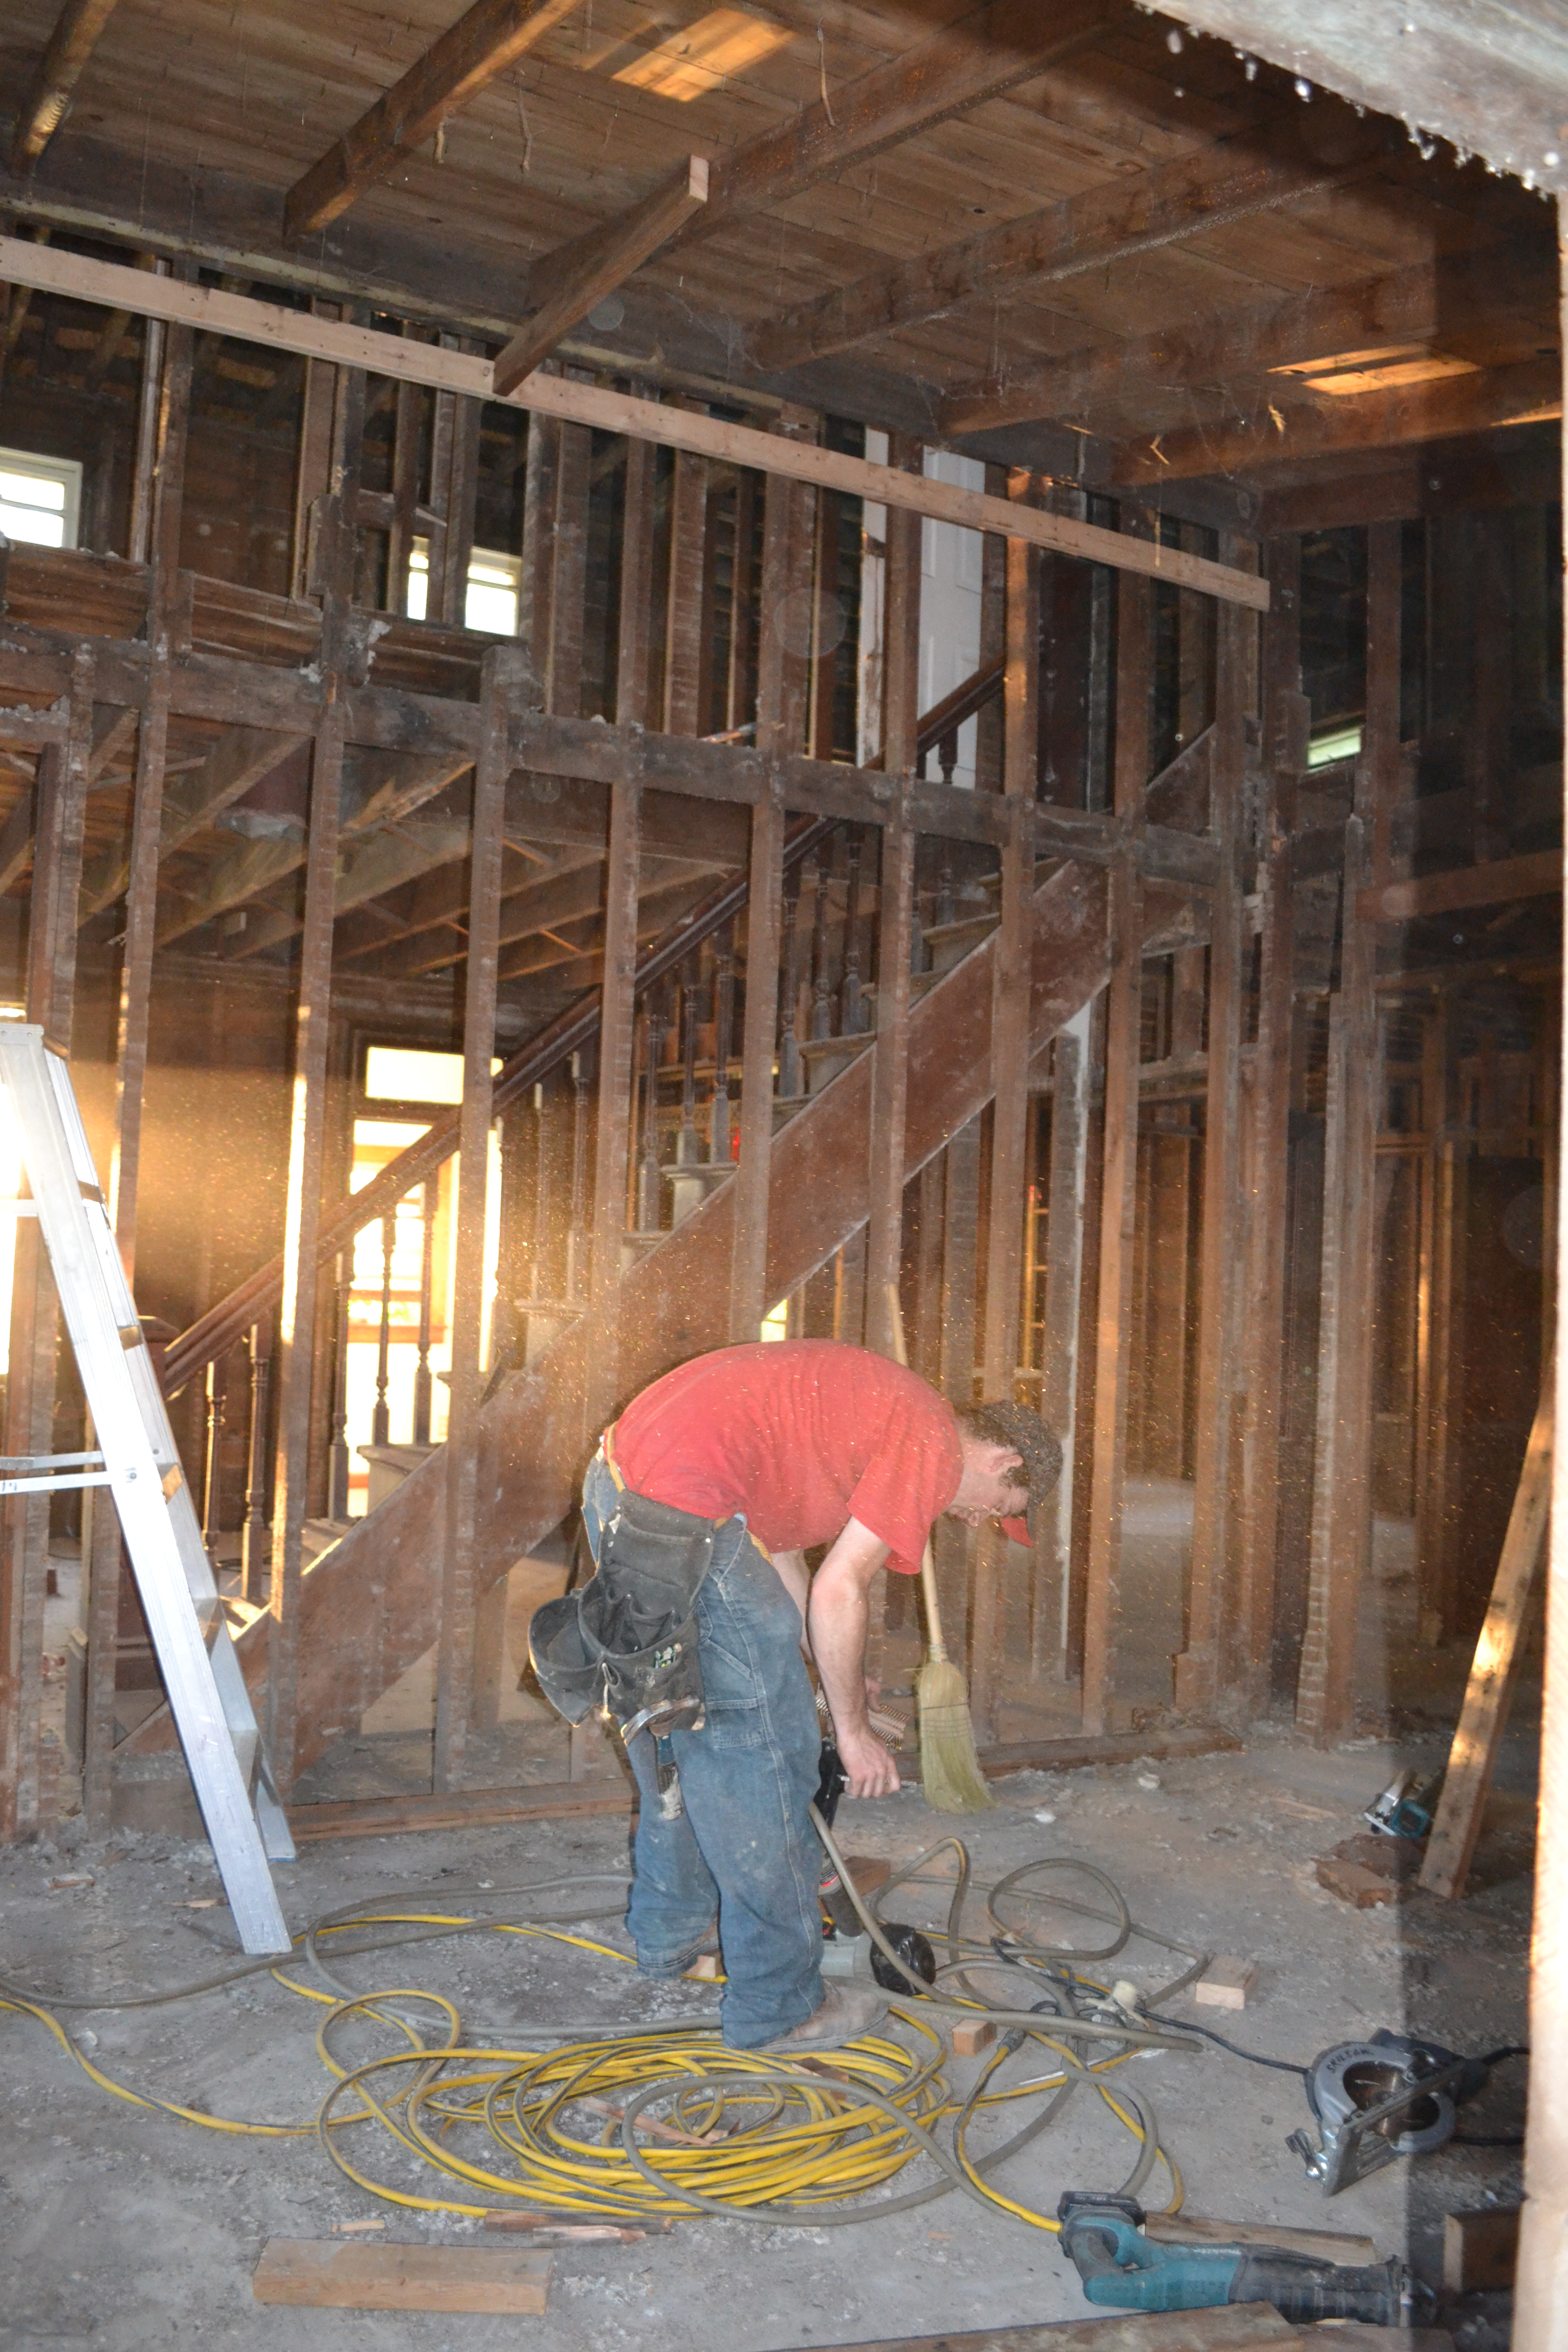
I just want to post some "before" and "middle" pictures. We aren't to the "after" yet, but hey. We've got pictures of the skeleton! Considering it has been just a little over three months since we bought the house I think we're doing pretty good. *Pat self on back* yay!

Heads up: This is a super long post, mostly filled with pictures. Enjoy!

The Living Room:


[caption id="attachment_439" align="aligncenter" width="300" caption="Before"][/caption]

[caption id="attachment_458" align="aligncenter" width="200" caption="now"][/caption]

The Other Living Room:


[caption id="attachment_441" align="aligncenter" width="300" caption="Before"][/caption]

[caption id="attachment_459" align="aligncenter" width="200" caption="now"][/caption]

The Bathroom:


[caption id="attachment_442" align="aligncenter" width="225" caption="before"][/caption]

[caption id="attachment_478" align="aligncenter" width="300" caption="now"][/caption]

We also extended the bathroom by about a foot so the tub won't be crammed into the wall like it is in the "before" picture.

The Dining Room:


[caption id="attachment_440" align="aligncenter" width="300" caption="Before"][/caption]

[caption id="attachment_479" align="aligncenter" width="300" caption="now"][/caption]

We knocked out the wall dividing the kitchen and dining room to make it one big room. (see second picture below!)

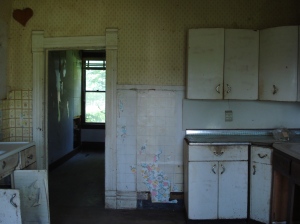
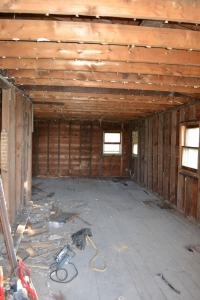
The Kitchen:


[caption id="attachment_444" align="aligncenter" width="300" caption="before"][/caption]

[caption id="attachment_480" align="aligncenter" width="200" caption="now"][/caption]

We extended the ceiling and it feels so open!


[caption id="attachment_445" align="aligncenter" width="300" caption="before (wall dividing kitchen and dining room)"][/caption]

[caption id="attachment_479" align="aligncenter" width="300" caption="now-same pic as above, I know, but just so we all have a visual."][/caption]

Mudroom:


[caption id="attachment_455" align="aligncenter" width="300" caption="before"][/caption]

[caption id="attachment_481" align="aligncenter" width="200" caption="now"][/caption]

We will be putting the wall back to recreate the 4th bedroom, but the door will go through the kitchen/dining area instead of through the mudroom. We had to take out the "before" wall to rip up all the rotting particle board. (ew.) Now we just have to sheet over this floor so we can eventually tile.

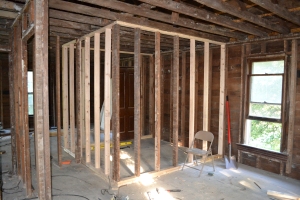
Bedroom 1:


[caption id="attachment_447" align="aligncenter" width="300" caption="before"][/caption]

[caption id="attachment_483" align="aligncenter" width="300" caption="now"][/caption]

Yes, My Honeypie is trying to blend in with the wall. We ripped out the closet and we will build built-in bunk beds where the closet used to be. Don't worry people, we are putting in a closet again, just somewhere else. Stand by.

[caption id="attachment_449" align="aligncenter" width="300" caption="before"][/caption]

[caption id="attachment_484" align="aligncenter" width="300" caption="now"][/caption]

Let me explain what this is. That thing in the middle of the room is the second bathroom we are adding in. To the left is where we will replace the closet we took out. I don't have a picture of the whole room (durh), but it is still a very decent sized room. yay!

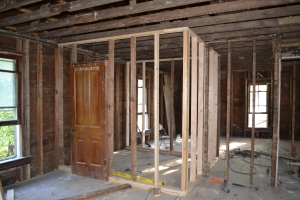
Bedroom 2:


[caption id="attachment_452" align="aligncenter" width="225" caption="before"][/caption]

[caption id="attachment_451" align="aligncenter" width="300" caption="before"][/caption]

[caption id="attachment_485" align="aligncenter" width="300" caption="in between the "before" and the "now""][/caption]

[caption id="attachment_486" align="aligncenter" width="300" caption="now"][/caption]

Our bathroom! I am so very excited for this. Very.


Bedroom 3:


[caption id="attachment_454" align="aligncenter" width="300" caption="before"][/caption]

[caption id="attachment_487" align="aligncenter" width="300" caption="now"][/caption]

We are moving right along!

Tuesday, September 20, 2011

To Paint, or No?

I *love* painted wood! If I recall correctly, which most of the time I don't, my dad hates painting wood. So for all of you wood-loving-paint-haters I want to give you a heads up: I WILL be painting the wood in our house. Yes. I will. Yes, that does include this:


Okay, everyone take a breath.


*inhale*


*exhale*


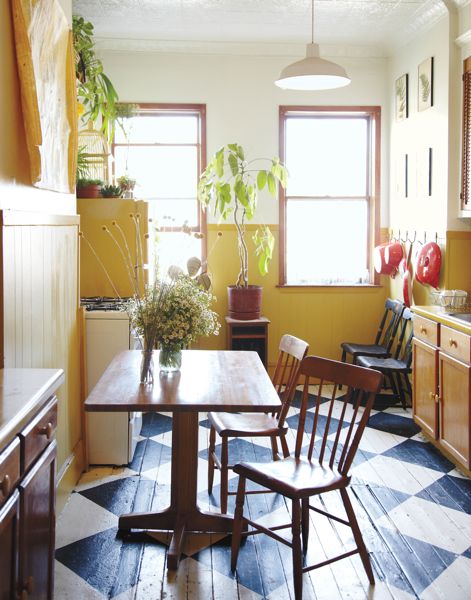
Moving on. My sister-in-law sent me this link for a cute kitchen floor idea.


Checked floor! Very fun and vintage. I had already contemplated the idea of painting our porch floor when we build it. I have also contemplated painting one of the "kid" bedroom floors (I haven't told My Honeypie yet, all of my 'awesome' ideas are sometimes a bit overwhelming)--but painting the kitchen floor didn't occur to me yet. Maybe it would make it extra fabulous with the high ceiling, library ladder, and chandelier(s?).


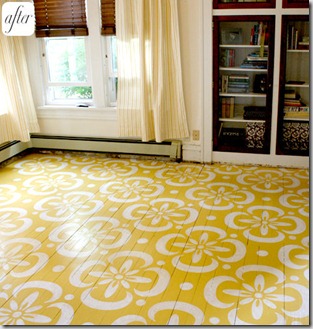
I'm kinda liking these:


[caption id="" align="aligncenter" width="313" caption="REALLY loving this"][/caption]

How to is here.


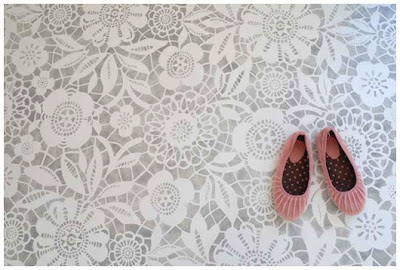
[caption id="" align="aligncenter" width="400" caption="Liking the lace look..."][/caption]

How totally cool would it be to have a version of the above picture, but with like, "I Spy" things in it? Like little birds and feathers and raindrops and flowers and hourglasses and rainbows and little unicorns???! See, these are my awesome ideas I try to keep to myself because I think My Honeypie's would stare at me and say something sweet like, "That sounds great, but we don't have any walls yet..." and then I'm like, "Oh yeah, well just remember it."
Look how blue!

Not a fan of concrete floors, but I love the design on this one:


and it would look just as lovely on a wood floor!


So...the question is this: to paint the floor, or no??